I recently found out it’s been over twenty years since the release of The Matrix. The digital rain of letters is probably known to almost everyone even those who haven’t watched the movie. Let’s give it a try and mimic this effect using Flutter.

Goal
Having seen a few videos of the effect, I can summarize it as follows:
- It consists of numerous “character rains” that all start at the top of the screen with a random horizontal position
- Every now and then a new rain spawns
- The latest character is always white, the colors before are green and there is a gradient so that the first characters fade out
- Background is black
- The characters are random characters including letters, numbers and other characters
- The vertical rains differ in the length (height) of visible characters
Implementation
Let’s start with the implementation of a single vertical rain. Once we have that, we let the whole effect be a composition of multiple rains.
 1import 'package:flutter/material.dart';
 2
 3class VerticalTextLine extends StatefulWidget {
 4  VerticalTextLine({
 5    this.speed = 12.0,
 6    this.maxLength = 10,
 7    Key key
 8  }) : super(key: key);
 9
10  final double speed;
11  final int maxLength;
12
13  @override
14  _VerticalTextLineState createState() => _VerticalTextLineState();
15}
16
17class _VerticalTextLineState extends State<VerticalTextLine> {
18  List<String> _characters = ['T', 'E', 'S', 'T'];
19
20  @override
21  Widget build(BuildContext context) {
22
23    return Column(
24      mainAxisSize: MainAxisSize.min,
25      mainAxisAlignment: MainAxisAlignment.start,
26      children: _getCharacters(),
27    );
28  }
29
30  List<Widget> _getCharacters() {
31    List<Widget> textWidgets = [];
32
33    for (var character in _characters) {
34      textWidgets.add(
35          Text(character, style: TextStyle(color: Colors.white),)
36      );
37    }
38
39    return textWidgets;
40  }
41}
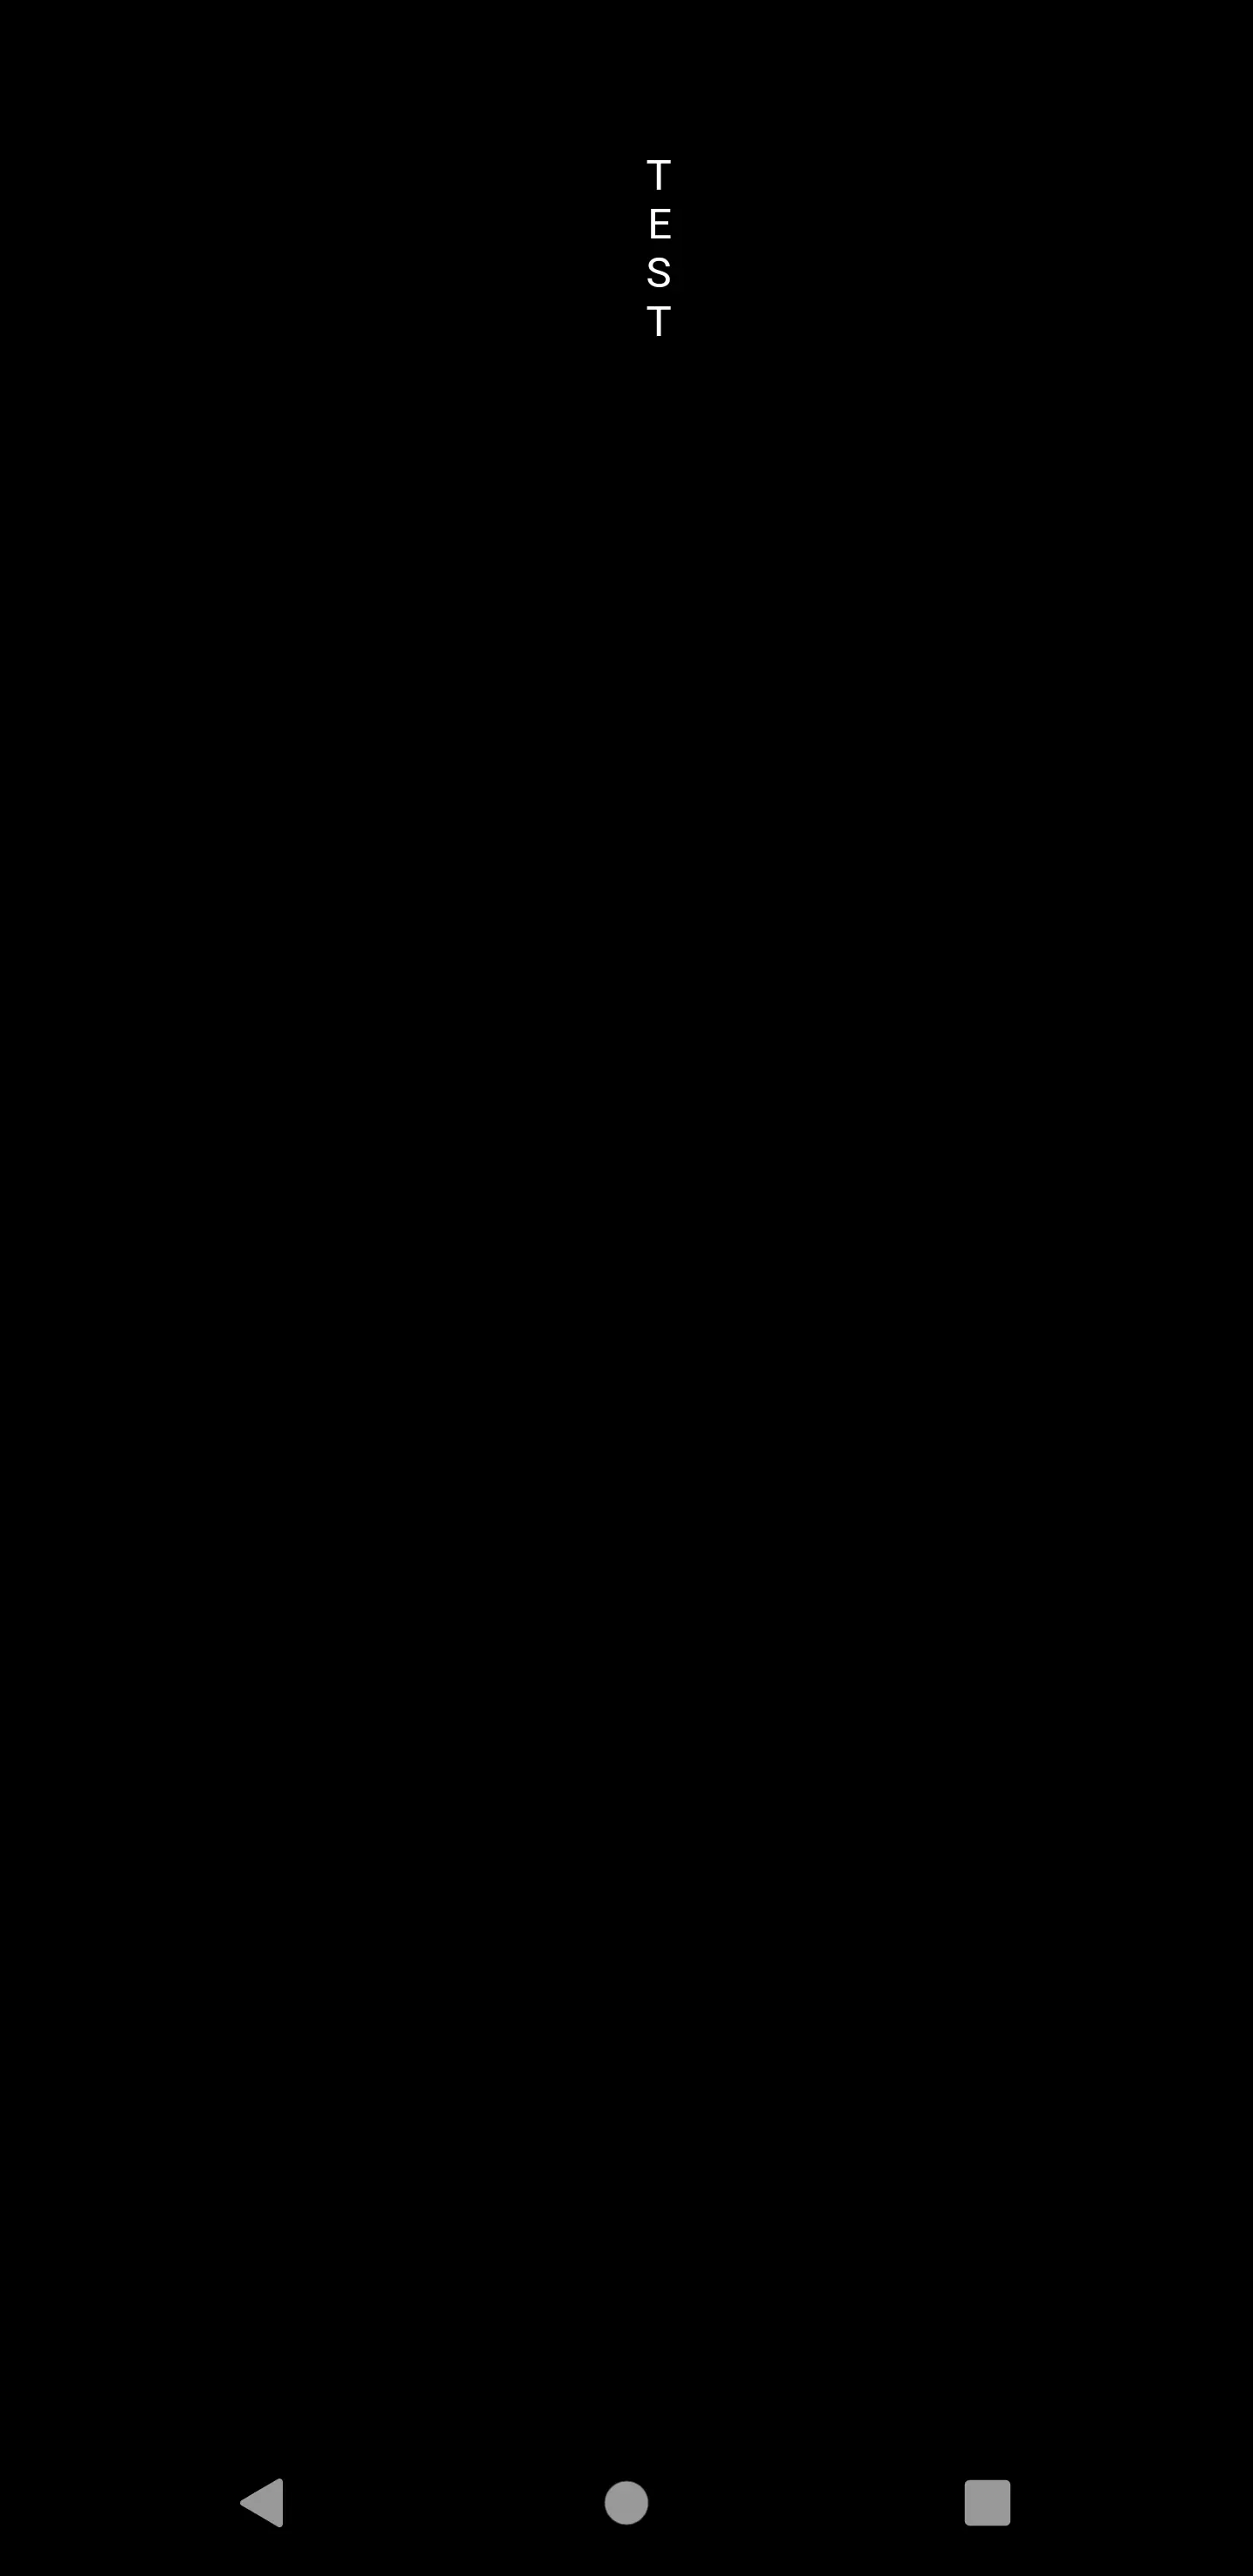
This is a very simple start. Just a widget that displays a static vertical line of text at the top of its container.
The constructor arguments are speed and maxLength, which will later determine, how quickly the rain runs down the screen and what the maximum length of the visible text is. This way we have a variance in position, speed and length.

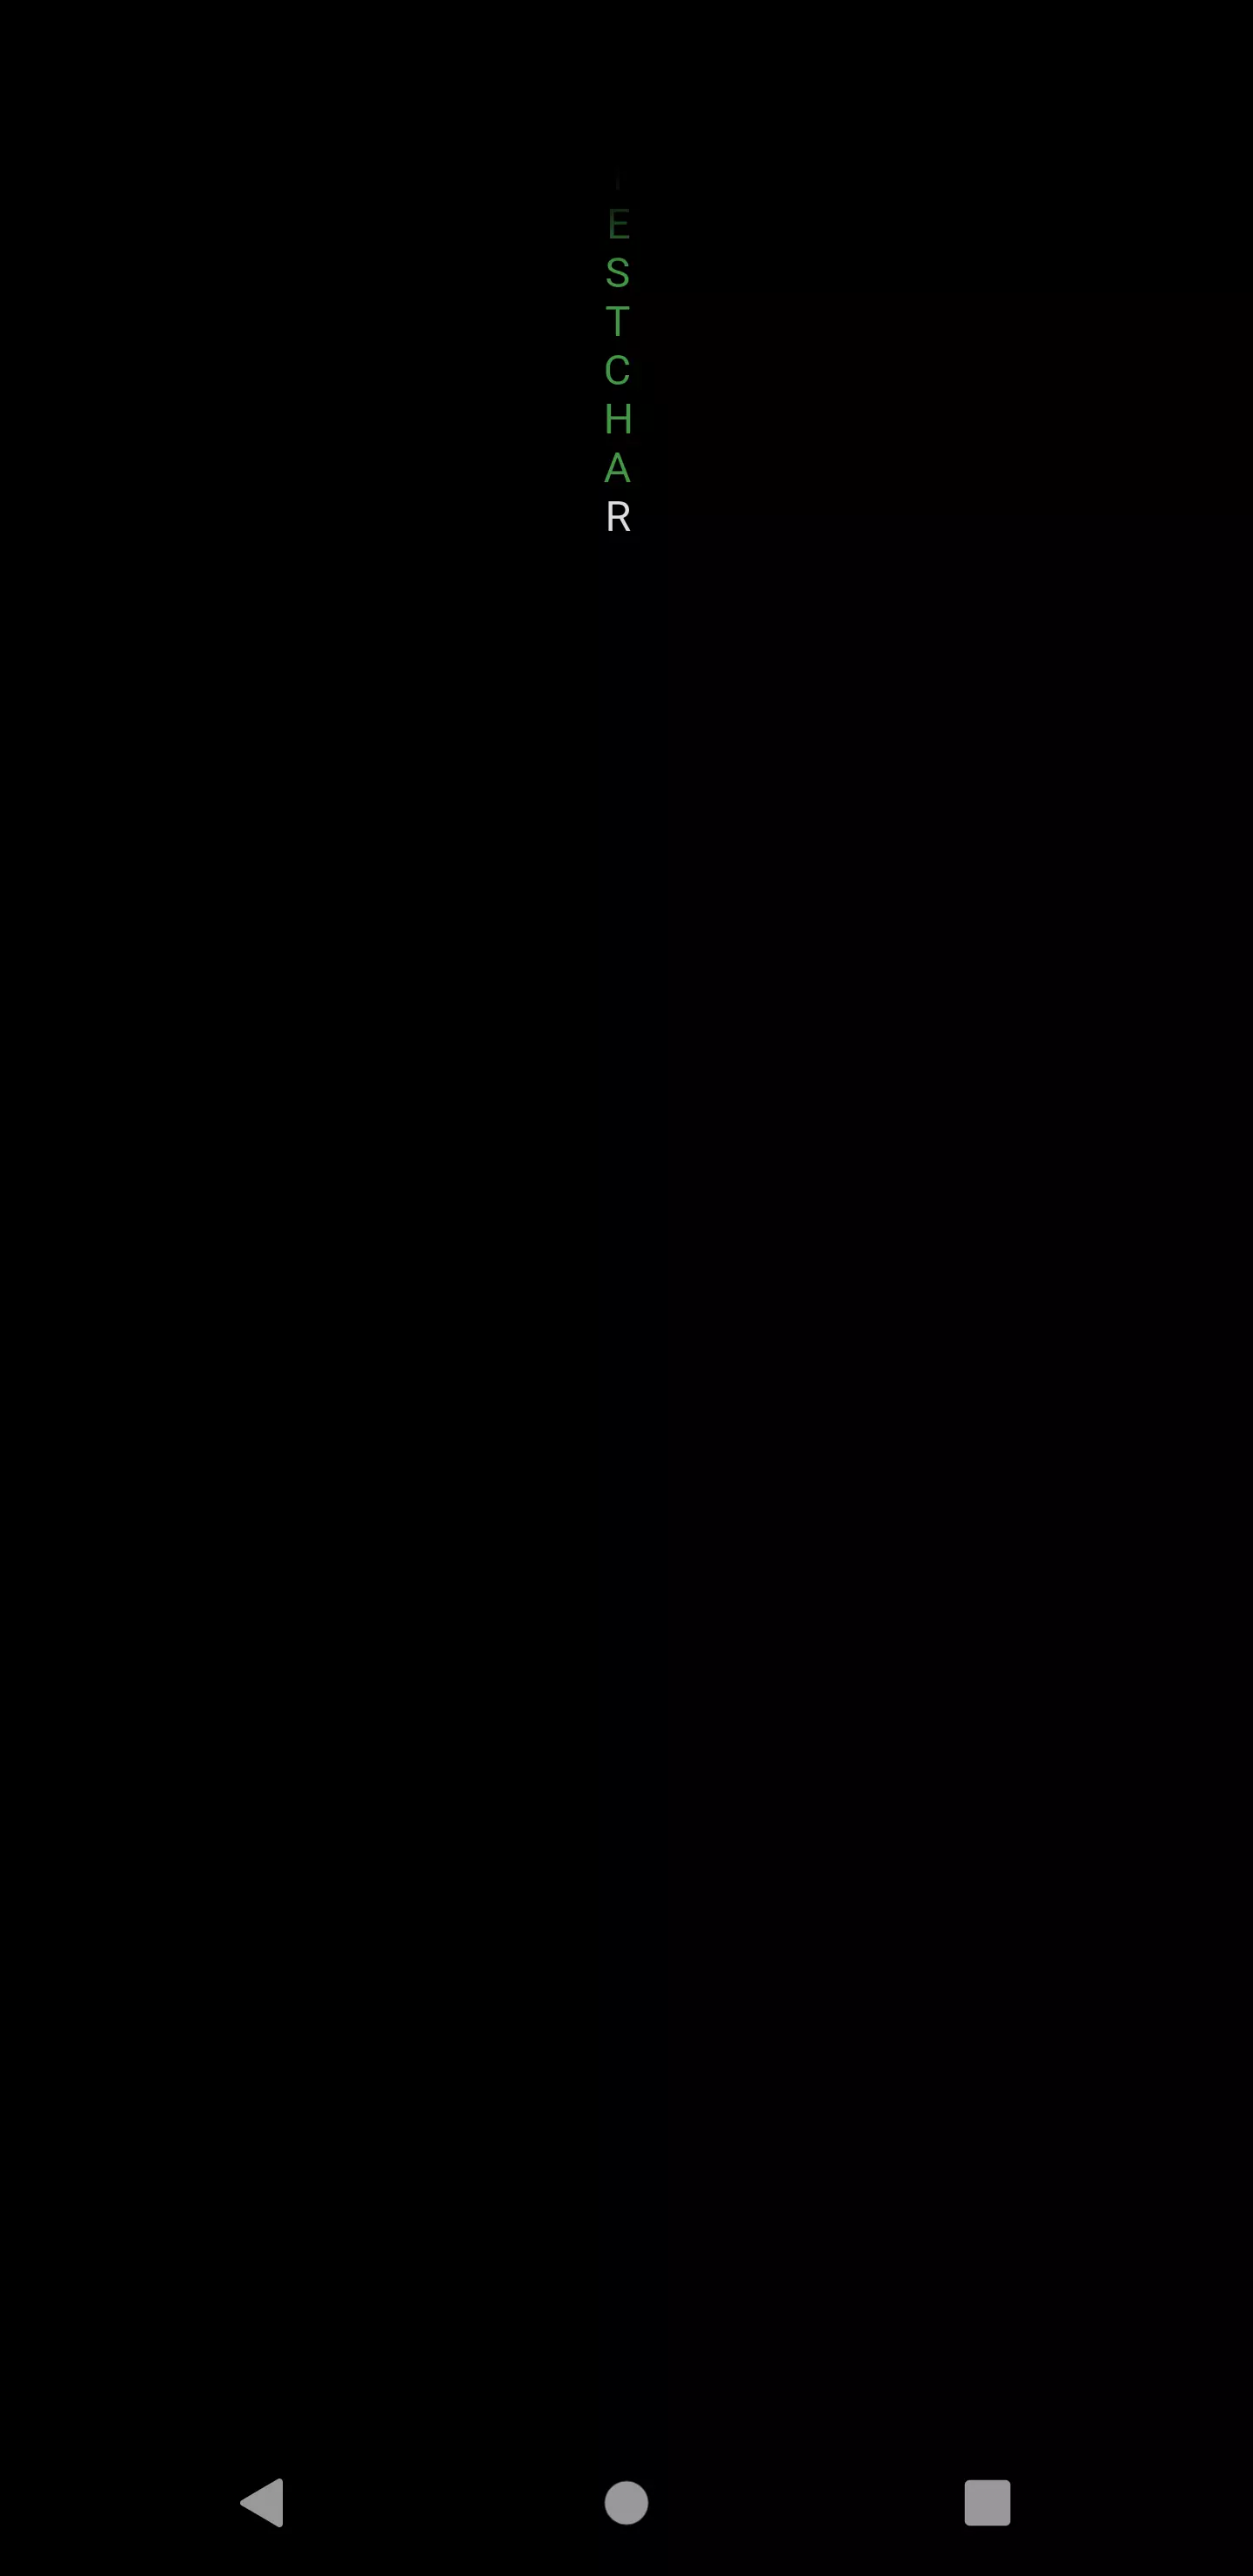
Now, instead of displaying a plain white text, we want the last character to be white and the text before that to have the above described gradient.
 1@override
 2Widget build(BuildContext context) {
 3  List<Color> colors = [Colors.transparent, Colors.green, Colors.green, Colors.white];
 4
 5  double greenStart;
 6  double whiteStart = (_characters.length - 1) / (_characters.length);
 7
 8  if (((_characters.length - _maxLength) / _characters.length) < 0.3) {
 9    greenStart = 0.3;
10  }
11  else {
12    greenStart = (_characters.length - _maxLength) / _characters.length;
13  }
14
15  List<double> stops = [0, greenStart, whiteStart, whiteStart];
16
17  return _getShaderMask(stops, colors);
18}
19
20ShaderMask _getShaderMask(List<double> stops, List<Color> colors) {
21  return ShaderMask(
22    shaderCallback: (Rect bounds) {
23      return LinearGradient(
24        begin: Alignment.topCenter,
25        end: Alignment.bottomCenter,
26        stops: stops,
27        colors: colors,
28      ).createShader(bounds);
29    },
30    blendMode: BlendMode.srcIn,
31    child: Column(
32      mainAxisSize: MainAxisSize.min,
33      mainAxisAlignment: MainAxisAlignment.start,
34      children: _getCharacters(),
35    )
36  );
37}
For the purpose of displaying the text as a gradient, we use something called a ShaderMask. This can be used to fade out the edge of a child. The shaderCallback parameter expects a function that receives a bounding rectangle and returns a Shader. Good thing the Gradient class provides a createShader() method. This enables us to control the shading behavior by using a Gradient.
We use blendMode.srcIn. That means: take the source (the child parameter) and use the destination (shaderCallback return value) as a mask. This leads to the text staying the way it is with the gradient only defining its color.
The stops argument of a Gradient is a list of doubles that represent the relative position across the gradient, at which a certain color (which is defined at the same position in the colors argument) should begin. So if the stops list contained `` and 0.5 and the colors list contained Colors.white and Colors.red, the gradient would start with white and interpolate to red until half of its height and would be red from there to the bottom.
We want it to start with transparent color and then interpolate to green (at the character that is located maxLength characters before the end of the column). This color should last until the penultimate visible character where it changes to white.
If the whole character list is smaller than maxLength, we just take 30 % as a static point for the green color to start.

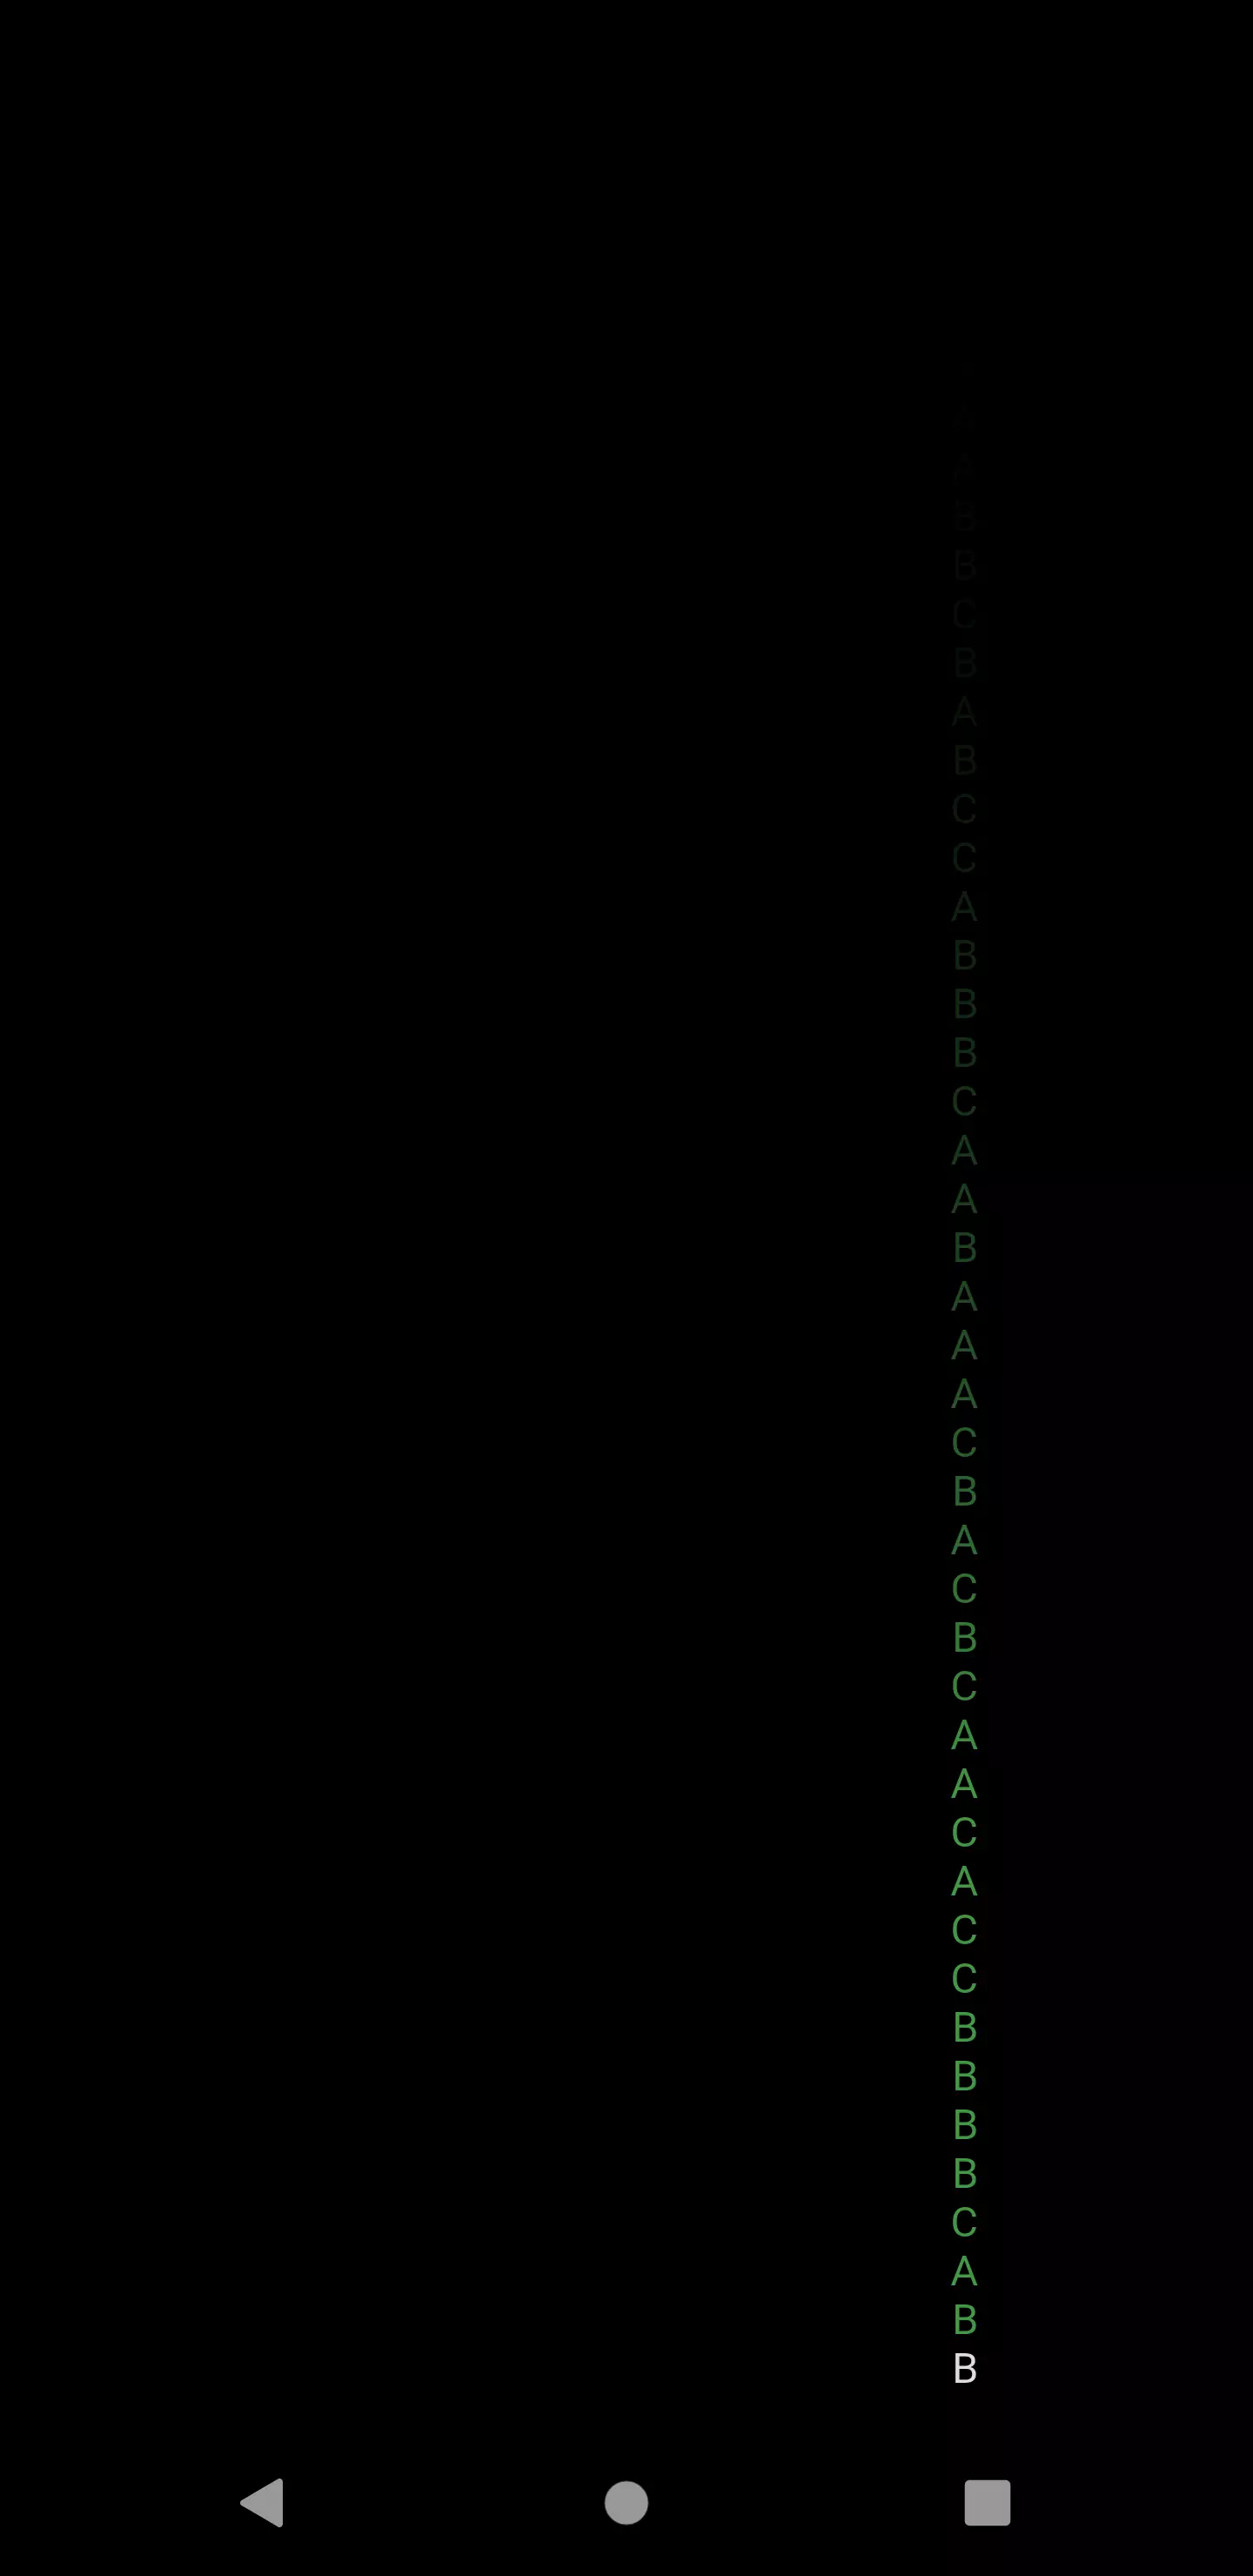
Next step is to turn this text with a static length into a growing column.
 1class _VerticalTextLineState extends State<VerticalTextLine> {
 2  int _maxLength;
 3  Duration _stepInterval;
 4  List<String> _characters = [];
 5  Timer timer;
 6
 7  @override
 8  void initState() {
 9    _maxLength = widget.maxLength;
10    _stepInterval = Duration(milliseconds: (1000 ~/ widget.speed));
11    _startTimer();
12    super.initState();
13  }
14  void _startTimer() {
15    timer = Timer.periodic(_stepInterval, (timer) {
16      final _random = new Random();
17      final list = ['A', 'B', 'C'];
18      String element = list[_random.nextInt(list.length)];
19
20      setState(() {
21        _characters.add(element);
22      });
23    });
24  }
25
26...
speed is interpreted in the way that 1.0 means 1 character per second. So it’s the frequency of characters added per second.

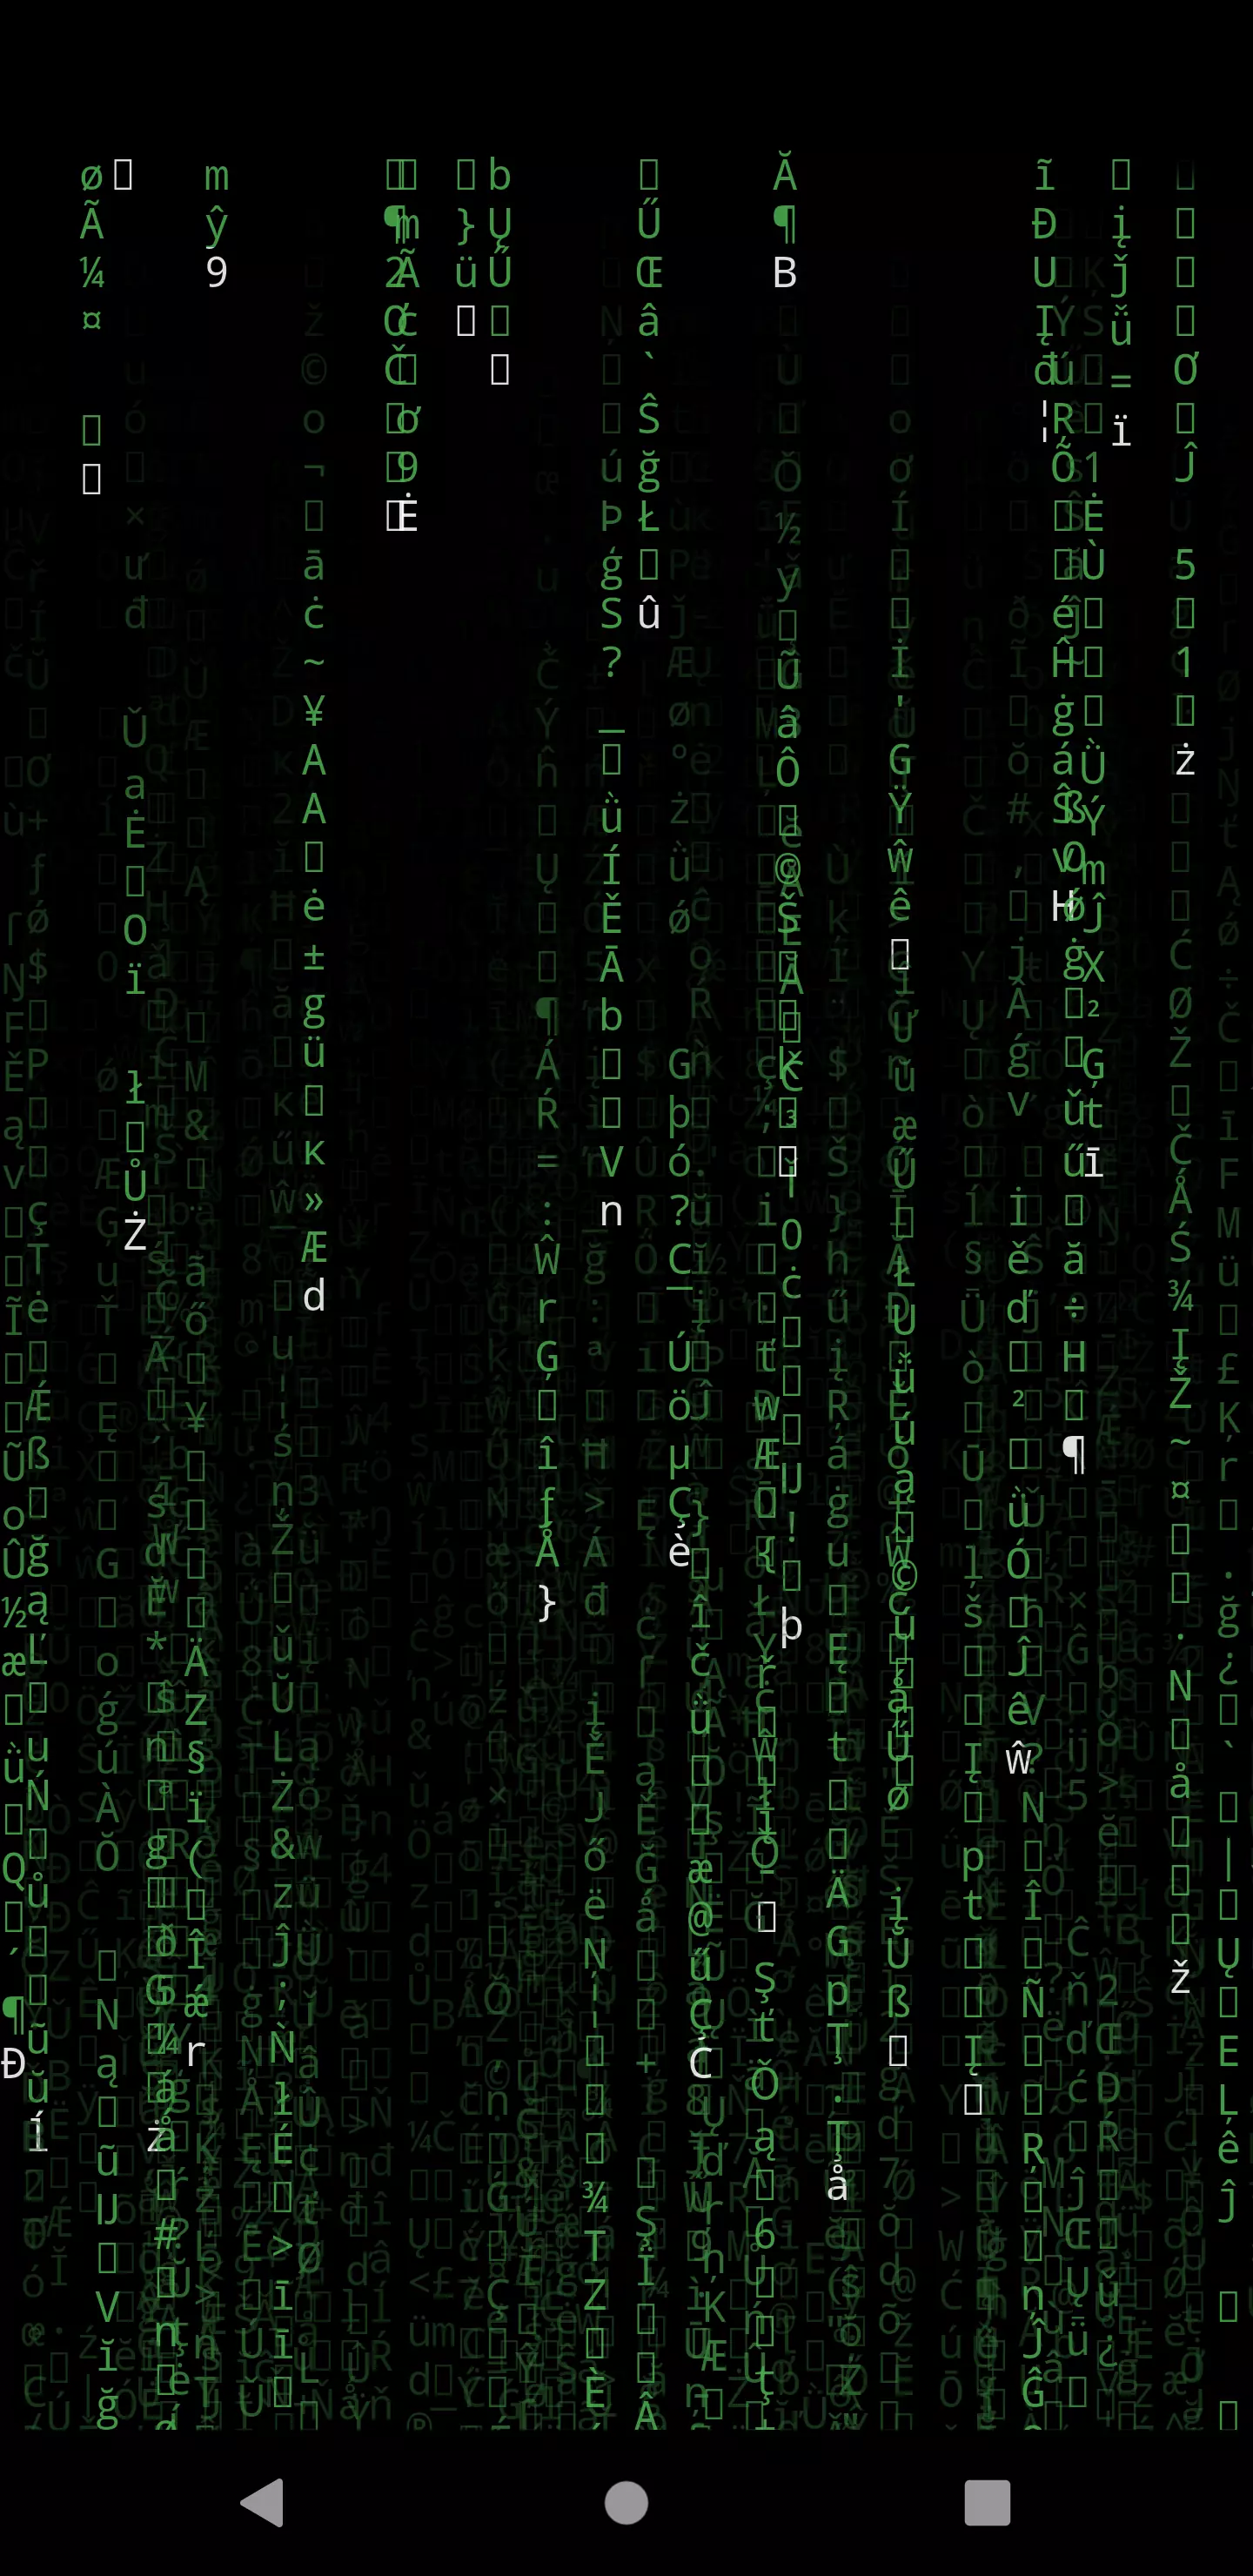
Instead of having a static list of allowed characters, we can also use a random int to create a String from a UTF character code:
Now we need to create a widget that composes multiple of our vertical text lines:
 1import 'dart:async';
 2import 'dart:math';
 3
 4import 'package:flutter/material.dart';
 5import 'package:flutter_matrix_effect/vertical_text_line_current.dart';
 6
 7class MatrixEffect extends StatefulWidget {
 8  @override
 9  State<StatefulWidget> createState() {
10    return _MatrixEffectState();
11  }
12}
13
14class _MatrixEffectState extends State<MatrixEffect> {
15  List<Widget> _verticalLines = [];
16  Timer timer;
17
18  @override
19  void initState() {
20    _startTimer();
21    super.initState();
22  }
23
24  @override
25  Widget build(BuildContext context) {
26    return Stack(
27      children: _verticalLines
28    );
29  }
30
31  void _startTimer() {
32    timer = Timer.periodic(Duration(milliseconds: 300), (timer) {
33      setState(() {
34        _verticalLines.add(
35            _getVerticalTextLine(context)
36        );
37      });
38    });
39  }
40
41  @override
42  void dispose() {
43    timer.cancel();
44    super.dispose();
45  }
46
47  Widget _getVerticalTextLine(BuildContext context) {
48    Key key = GlobalKey();
49    return Positioned(
50      key: key,
51      left: Random().nextDouble() * MediaQuery.of(context).size.width,
52      child: VerticalTextLine(
53        speed: 1 + Random().nextDouble() * 9,
54        maxLength: Random().nextInt(10) + 5
55      ),
56    );
57  }
58}
Every 300 milliseconds, we add a new VerticalTextLine to the list.
Since we’re dealing with a list of widgets here, it’s mandatory to use the key parameter of the widgets we add. Otherwise, if we manipulated the list by removing one element, a reference would be missing which would result in no widget being properly removed from the list (and from the widget tree).
We place the rains by using a Positioned widget with a random left parameter. Also, we let the speed vary from 1 to 10 and the maximum length from 5 to 15.

We still have one problem: Every vertical text line we spawn, stays in the widget tree forever. It might fade out over time because of our gradient, but it will always occupy memory. This leads to the app becoming very laggy after a short period of time. We need the rain to decide when to disappear and tell its parent.
 1VerticalTextLine({
 2    @required this.onFinished,
 3    this.speed = 12.0,
 4    this.maxLength = 10,
 5    Key key
 6  }) : super(key: key);
 7
 8  final double speed;
 9  final int maxLength;
10  final VoidCallback onFinished;
11
12...
13
14  void _startTimer() {
15    timer = Timer.periodic(_stepInterval, (timer) {
16      final _random = new Random();
17      String element = String.fromCharCode(
18        _random.nextInt(512)
19      );
20
21      final box = context.findRenderObject() as RenderBox;
22
23      if (box.size.height > MediaQuery.of(context).size.height * 2) {
24        widget.onFinished();
25        return;
26      }
27
28      setState(() {
29        _characters.add(element);
30      });
31    });
32  }
We achieve the above mentioned exit condition by using a callback that is being called from the vertical text line. The condition to disappear is when the size of the rendered widget (the column) is twice as high as the current screen height. This way, the moment of disappearing should be smooth enough not to be noticed by the viewer. The timer does not need to be cancelled manually, because we do this onDispose anyways.
The onFinished callback we provide to the VerticalTextLine looks as follows:
1onFinished: () {
2  setState(() {
3    _verticalLines.removeWhere((element) {
4      return element.key == key;
5    });
6  });
7},
Conclusion
Using a ShaderMask, a LinearGradient, a Timer and a GlobalKey, we were able to quickly mimic the well-known visual effect from The Matrix.


Sovit
Marc
In reply to Sovit's comment
david
Marc
In reply to david's comment
Mark